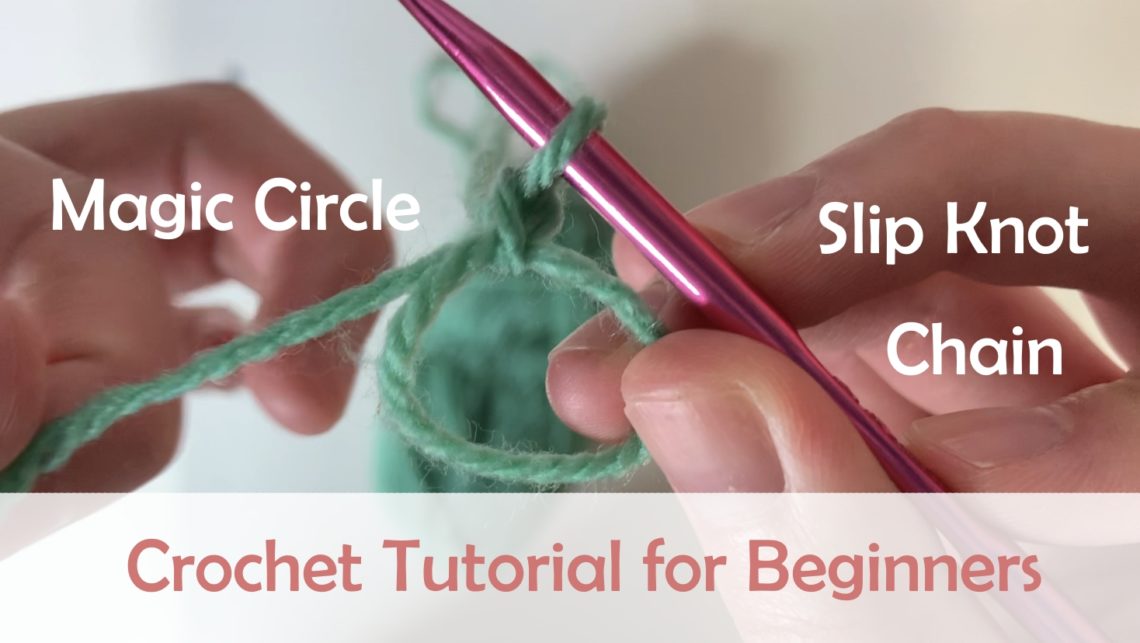
This step-by-step crochet tutorial will teach you crochet techniques that you must learn from the very beginning of crocheting and you must use in every crochet projects – Magic Ring, Slip Knot & Chain. Don’t worry, it’s very easy even you are a beginner who starts from zero. There will be step-by-step images and video to explain all these techniques to you!
Suggestions to beginners:
Use Mid-Weighted Yarn
It’s a lot easier to see your stitches and count your chains when you use mid-weighted yarn. Make sure you use a hook of the size that matches your yarn. If you are not sure, just check the label of your yarn as the manufacturer usually suggest on which size you need.
Use Ergonomic Crochet Hooks
I’m using aluminium crochet hooks but it’s easy for beginners to suffer pain using aluminium crochet hooks as you don’t know how to manage the strength of your fingers and you will undergo a long time of practice. Unlike aluminium crochet hooks, ergonomic crochet hooks are made to minimise pain from crocheting. They usually have a bigger silicone handle which has a more soft touch and is easier for you to hold!
Click to watch Crochet Tutorial Video
Step-by-step Instructions
Magic Circle
Magic Circle/Magic Ring is an adjustable ring that will allow you to crochet in rounds. It’s commonly used when your crochet project involves round shape, such as the bottom of a bag, amigurumi, hat and stuffed toy. You can pull tight to close the ring after you have achieved the number of stitches or the size you want.
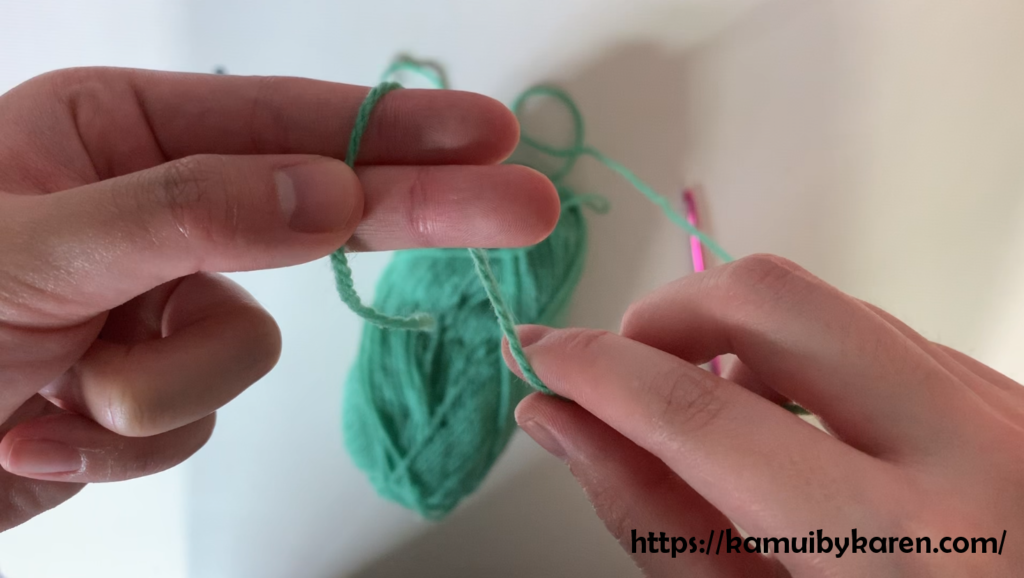
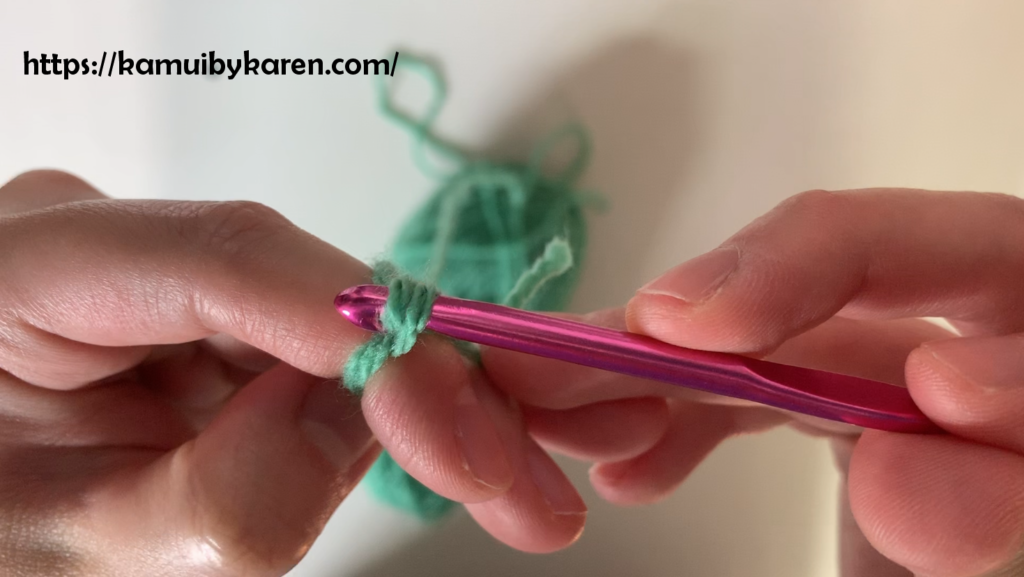
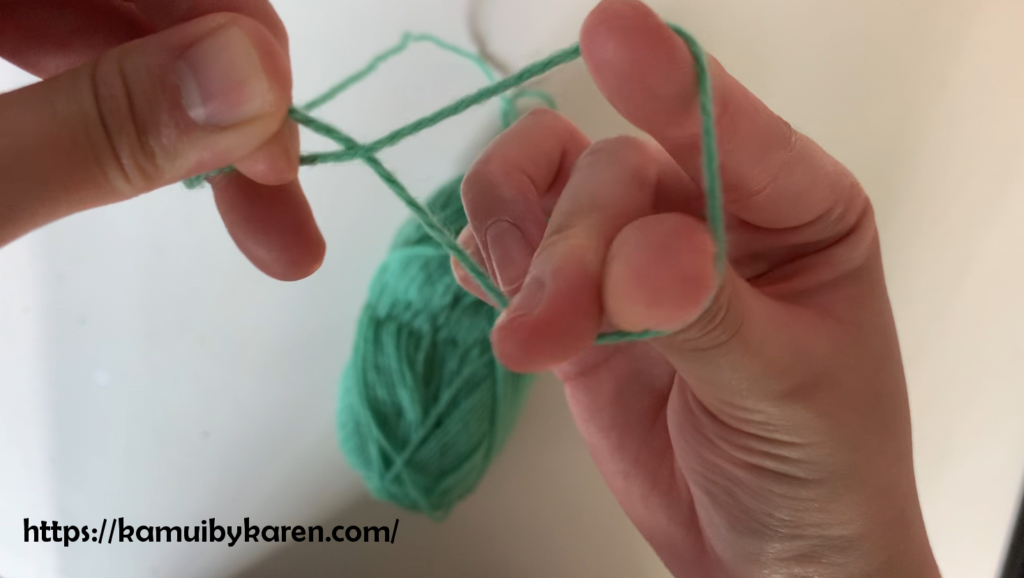
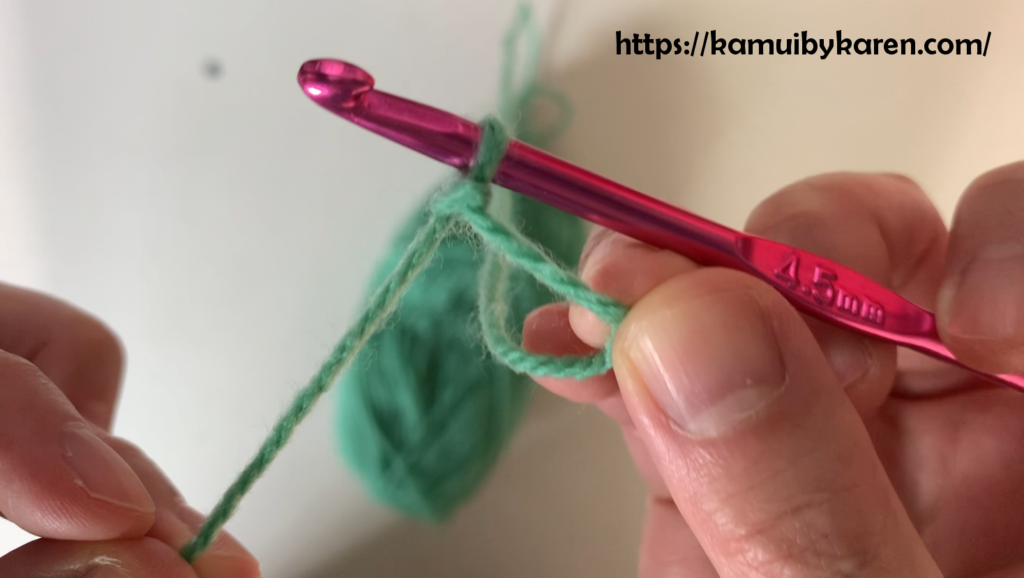
How to crochet Magic Circle?
- You’ll need to use your index and middle fingers.
Place tail of yarn on both your fingers.

- Pull the yarn to the back of your fingers.
- Bring your yarn back to the front, then pull the yarn to the top left corner.
- Now you can see a cross on your index and middle fingers.
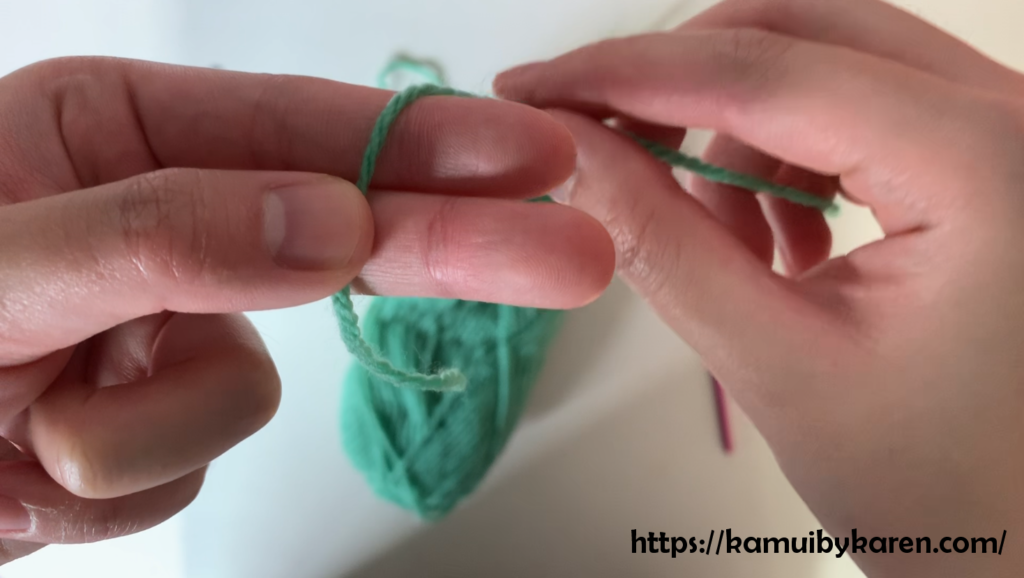
Hold the yarn with your ring finger and little finger.
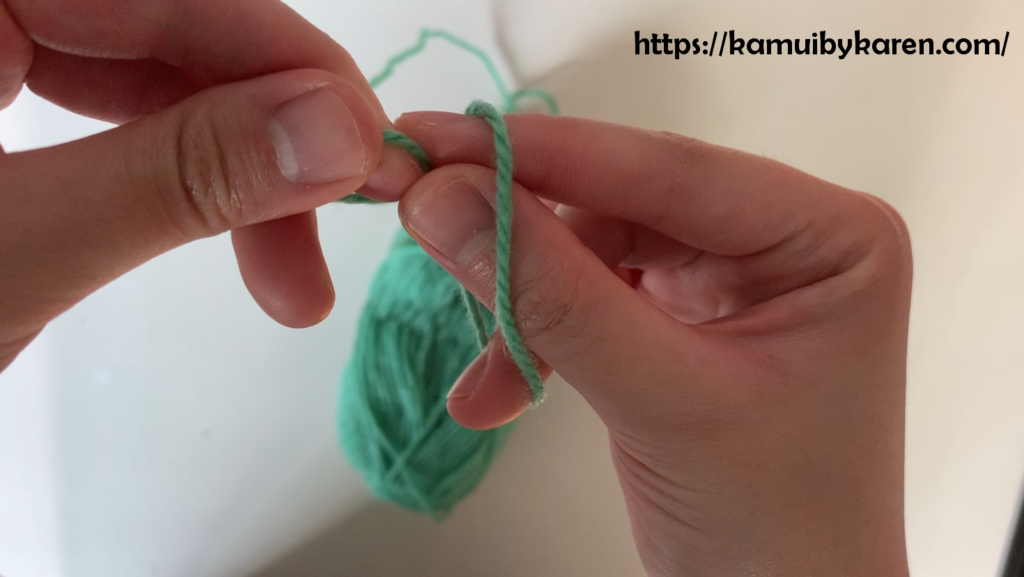
- Insert your hook through the top right of your cross.
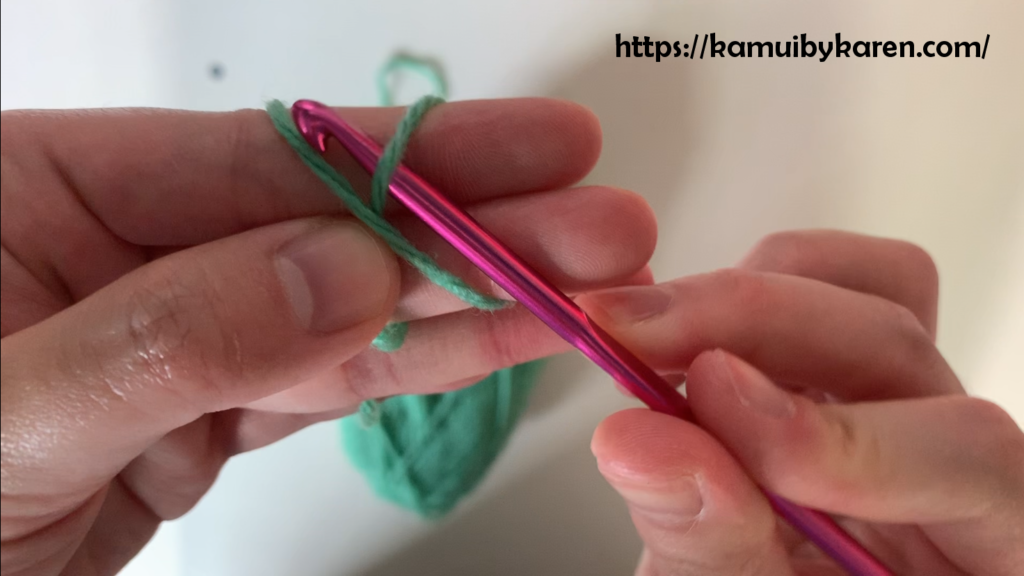
- Pull the yarn on the top left corner through the top right yarn.
- Twist the hook so that there’s a loop on your hook.
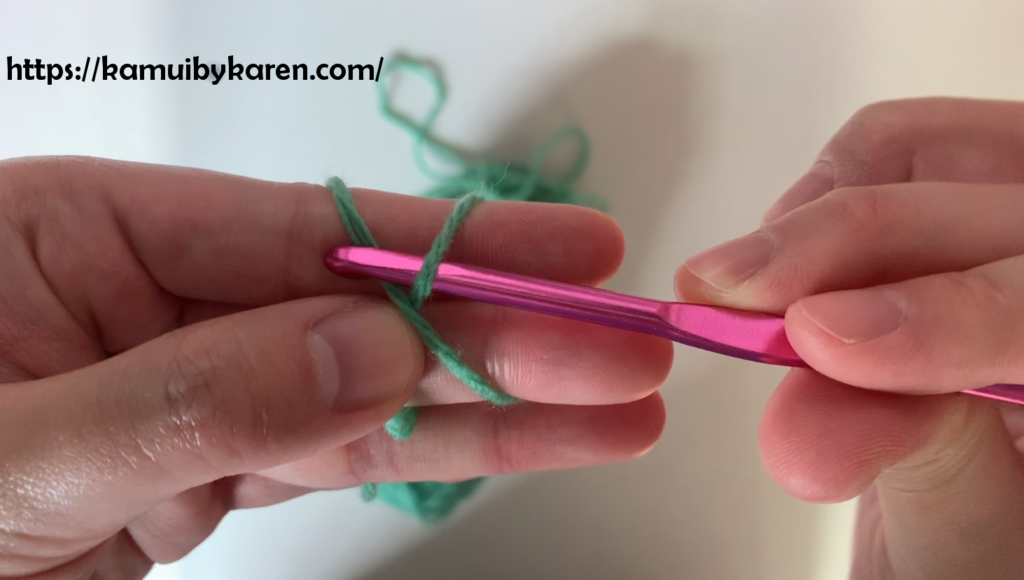
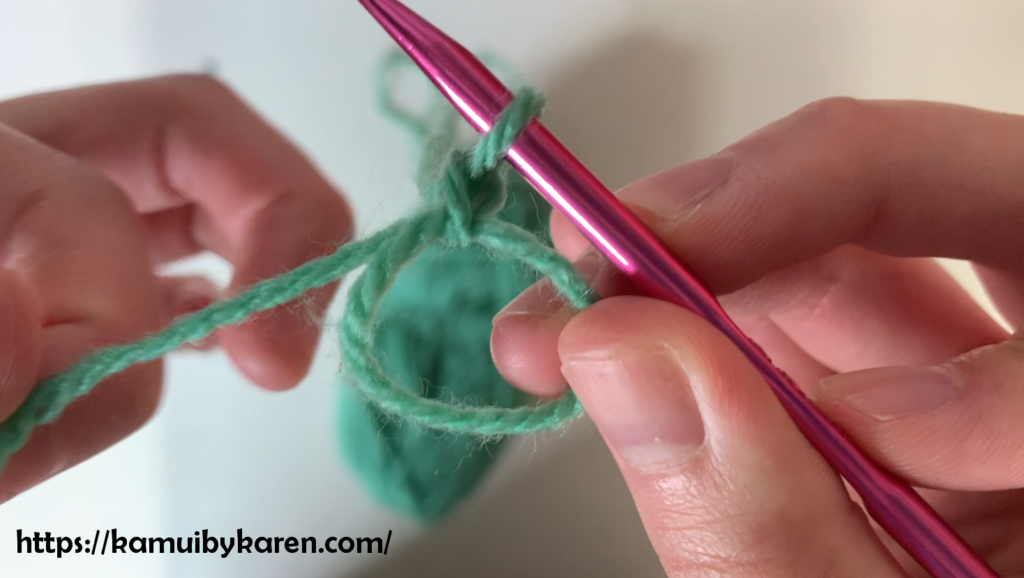
Pull the loop to the back of your fingers.
- Pull the yarn on the left through the loop on your hook.
- And your magic circle is done!
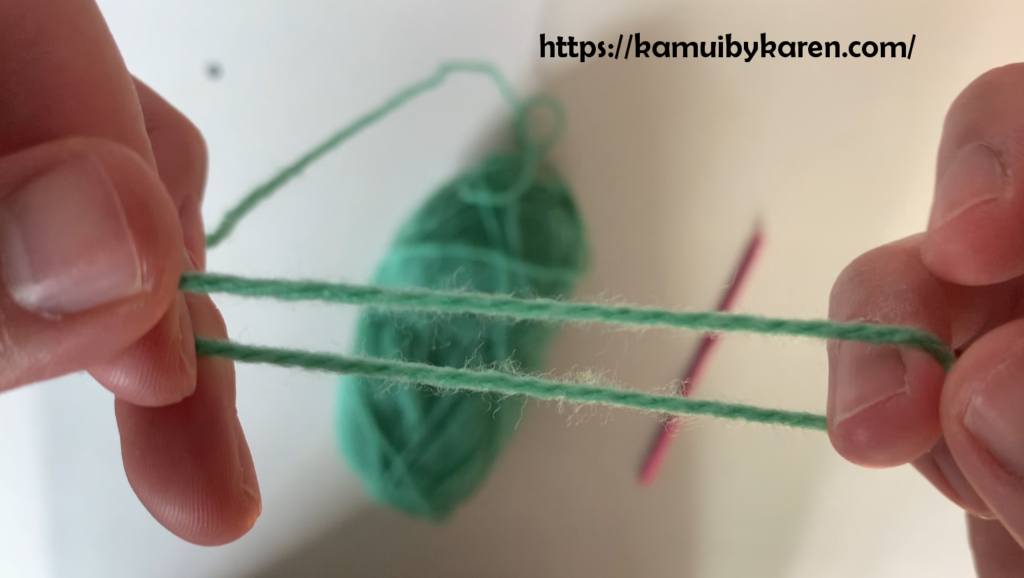
It’s easy to adjust the size of ring. You can pull the tail of yarn to make the ring smaller. After you finish crocheting your first round into the ring, simply pull tight to close the ring!


Just some suggestions…
- Leaving a longer tail will make it easier for you to practice and less likely to make mistake.
- Make cross just on one finger if you want the tail to be short or you want a smaller ring or when you use very fine yarn.
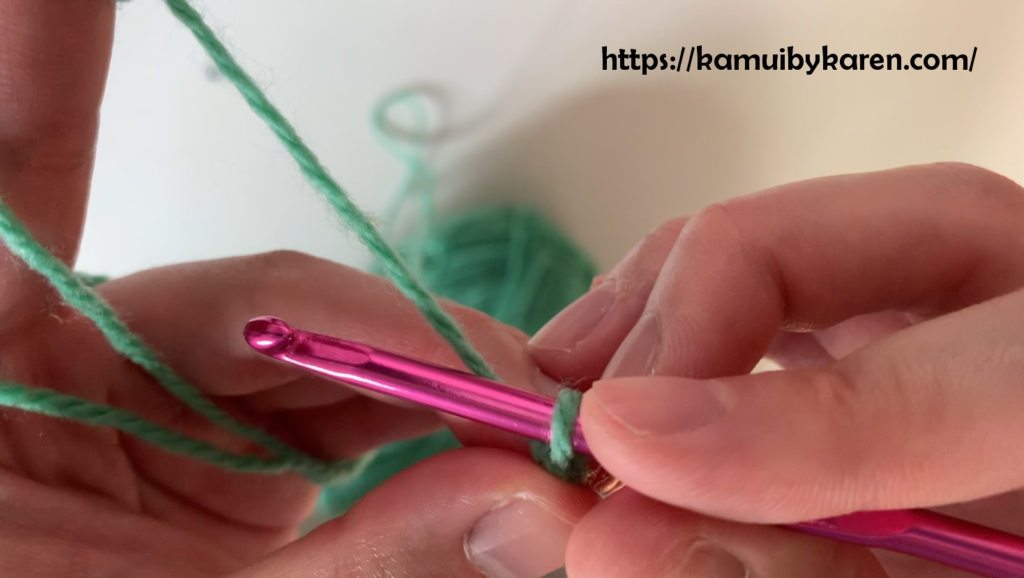
Slip Knot
Slip Knot is usually used with chain. You need to made a slip knot on your hook so that you can make a foundation chain to start your crochet project. Slip knot and chain are amazing. You can join the first and last chain to make a non-adjustable circle. You can also crochet chains to create space in your crochet projects, just like the peacock tail in the picture below.
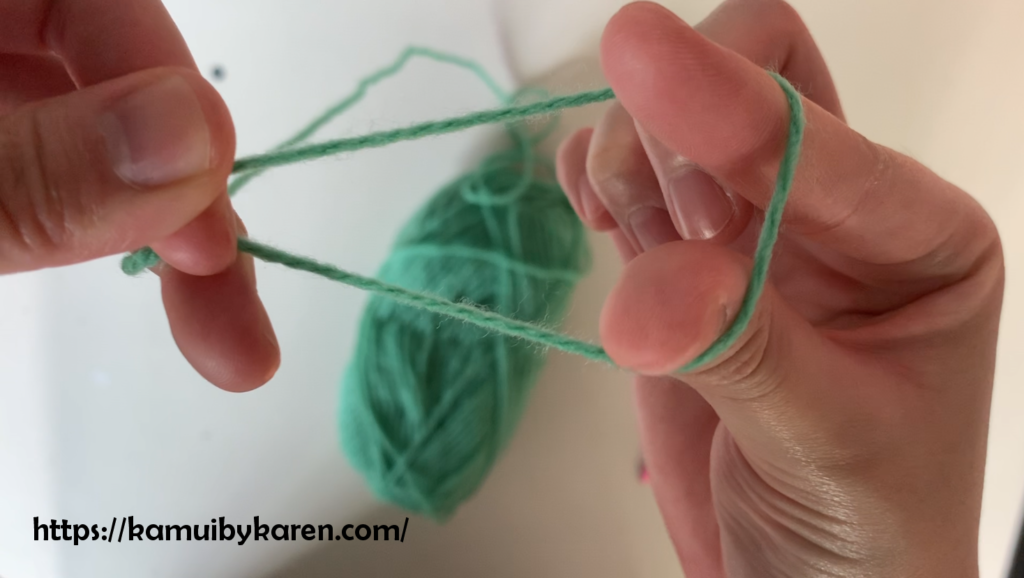
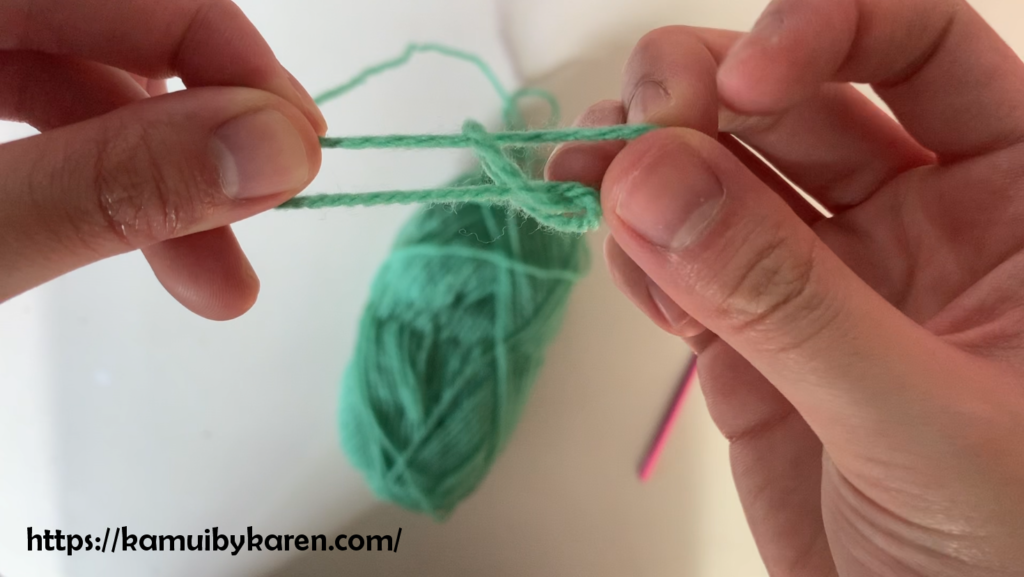
How to make a Slip Knot?
- Hold tail of yarn with one hand and pull the yarn with another hand at the same time. Hold yarn with your ring finger of the hand which is holding tail of yarn. By doing this, you will get a ring. Pull the yarn to make the ring bigger.
- Insert your thumb and index finger into the ring.
- Twist the ring.
- Pull tail of yarn into the ring。
- Pull tight!
.
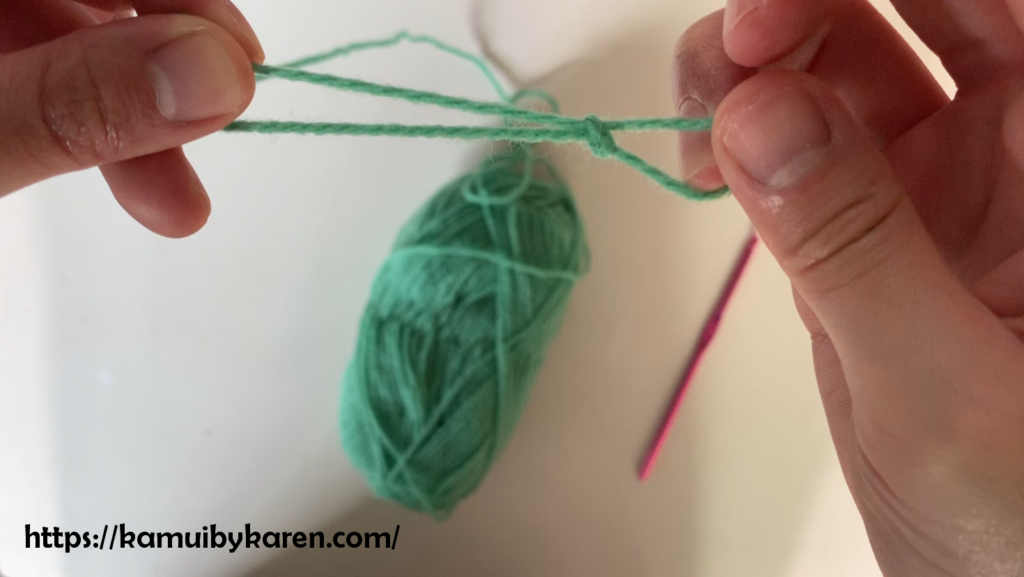
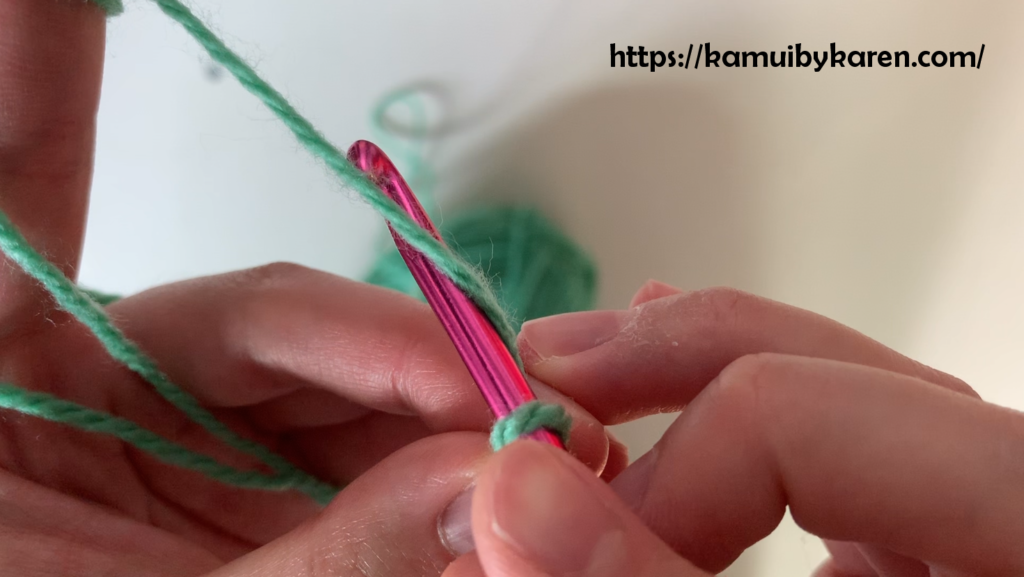
- Insert hook into the loop you just made and pull tight.
Then you can start doing your foundation chain!
 .
.
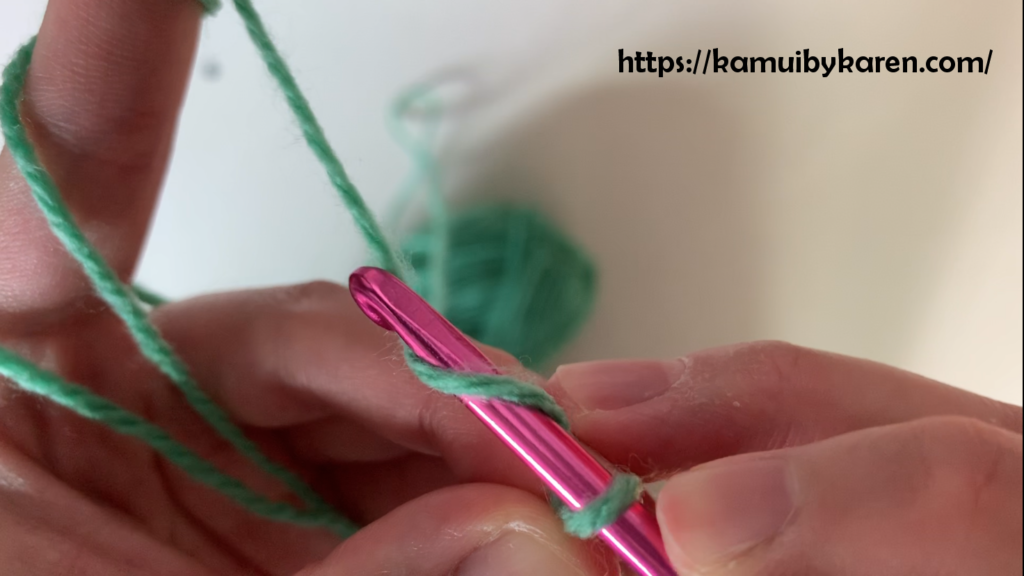
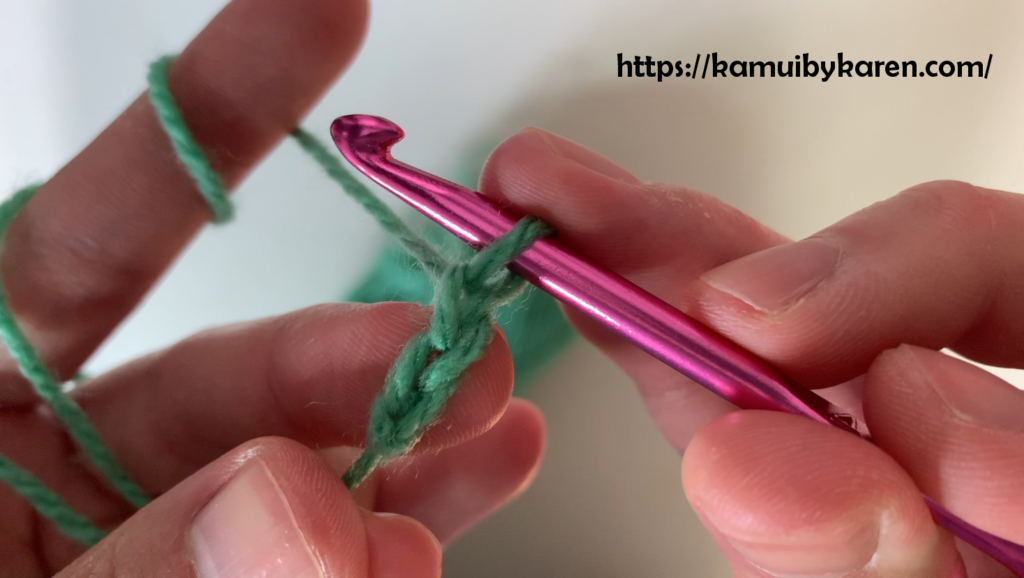
Chain
- You will need the slip knot you just made.
- We’ll start from the left side of the yarn. Go underneath your yarn to the right.
- Twist your hook.
- Pull the yarn through the loop on your hook.
- That’s how you make a chain!
You can repeat the above steps until you get your desired length and amount of chains.
It might be difficult at first and your hand will hurt so much, but surely the more you practice the easier it become. Hope you enjoy my crochet tutorial and let’s crochet together!
I’ll publish more crochet tutorial and other craft tutorial in the future. If you want to check out my latest post/project, you can follow my Instagram: Kamui by Karen.
Feel free to join my crochet ideas pinterest board too.
Till next time!
Other craft Tutorial: