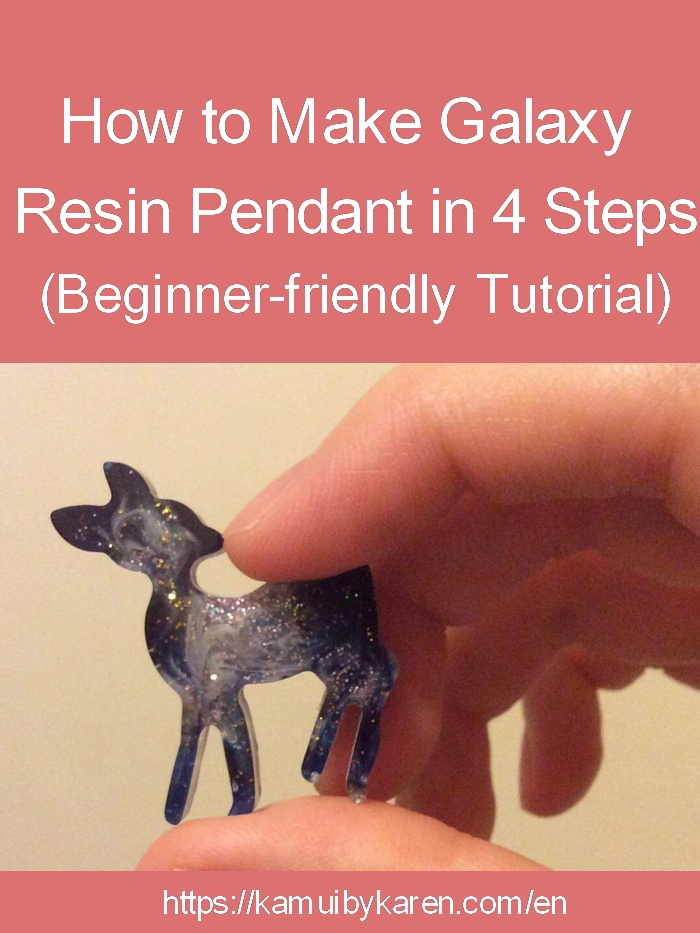
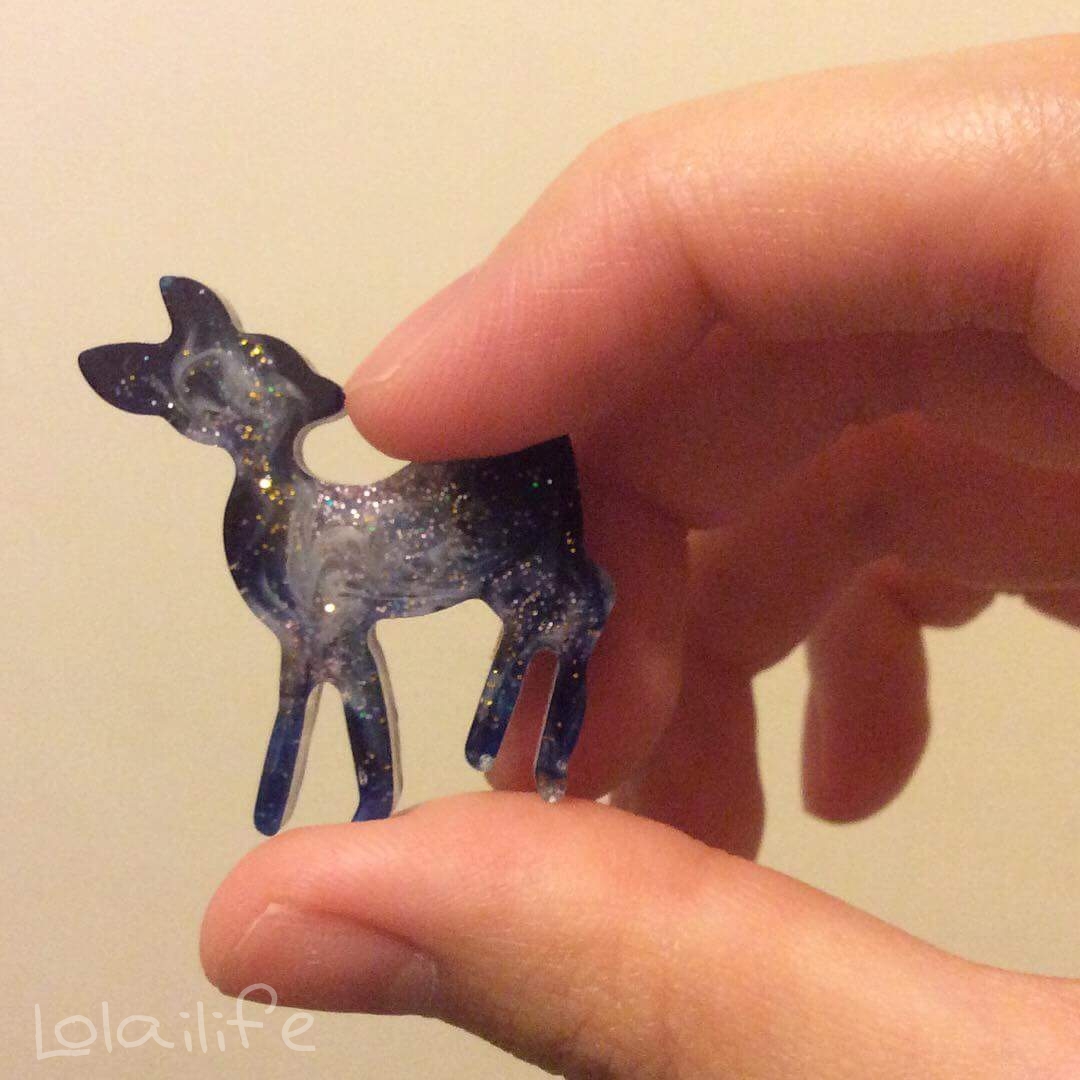
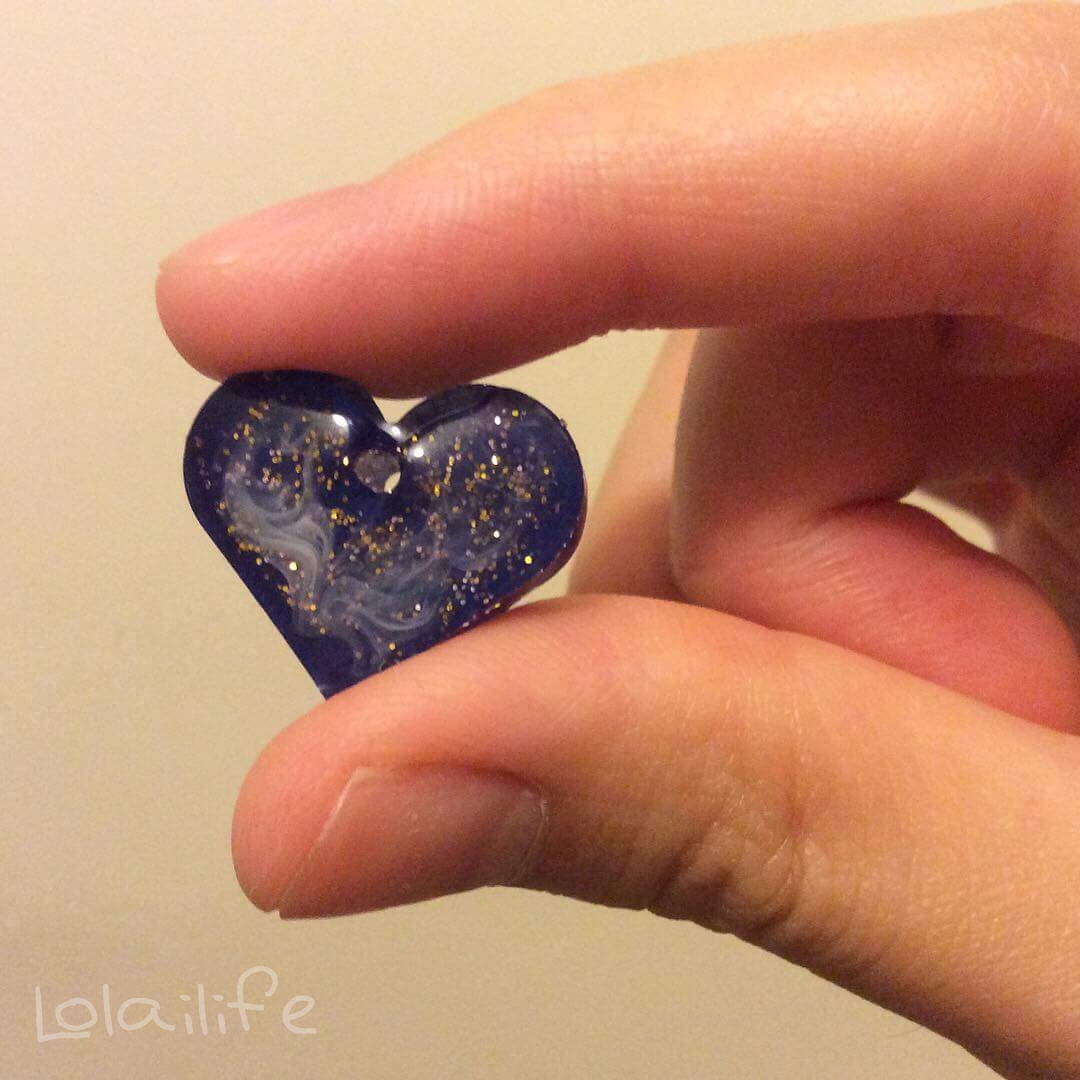
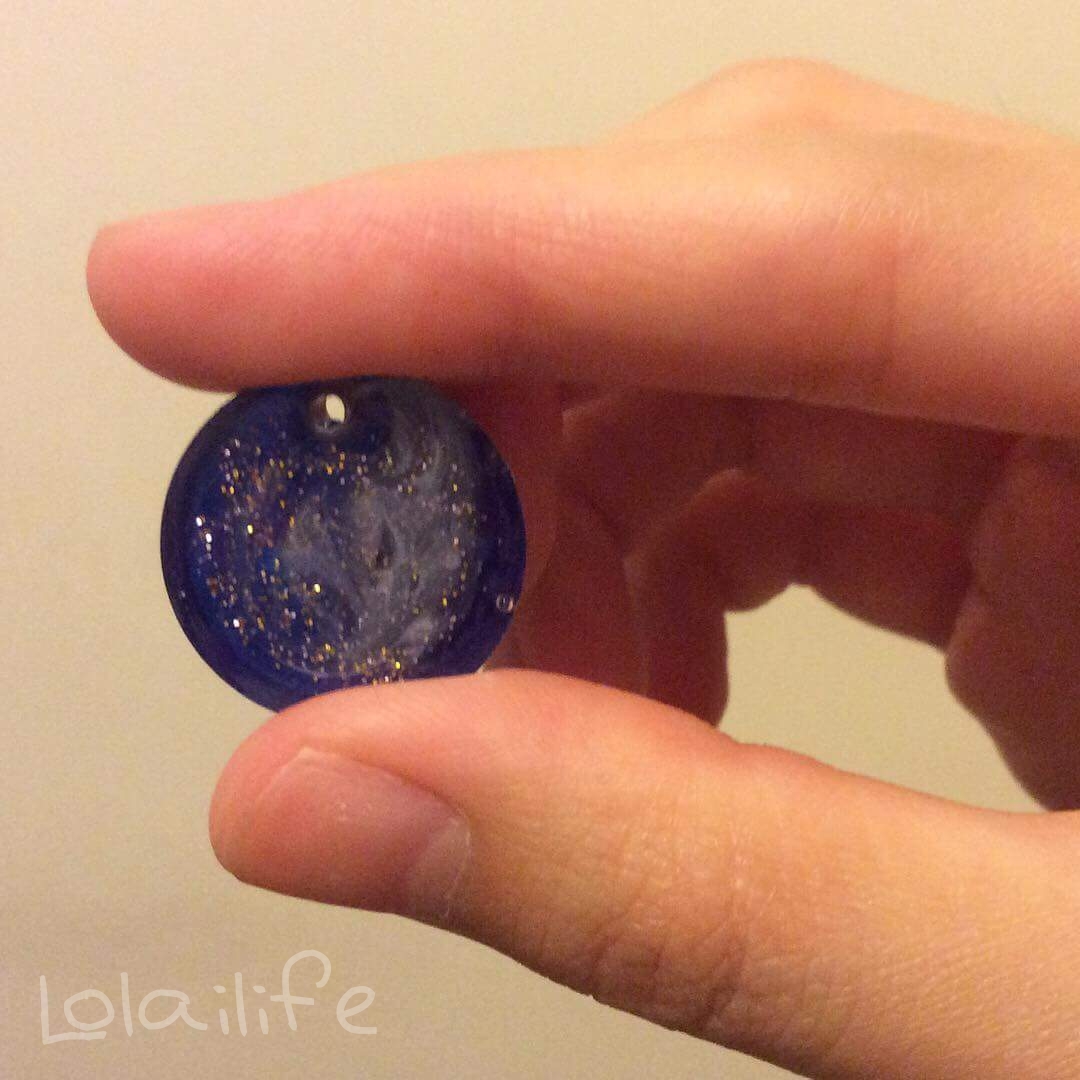
A galaxy resin pendant might look a bit complicated but making galaxy resin pendant is not as difficult as it looks like. It’s actually beginner-friendly and all beginners can practice layering your resin by doing your galaxy resin craft. It’s so much fun and galaxy resin is perfect for making necklace and earrings! Here are some galaxy resin pendants I made.
Let’s get started!
Things you need:
- UV resin
- Resin Colourant Liquid (Translucent) – we only need blue and white!
- Fine glitter – I choose gold and pink. You can choose your favourite colour!
- Containers of your choice for mixing – I reuse takeaway spoons as I always find it too wasteful to chuck the spoon out!
- Stir stick – I use toothpick. Toothpick is the best because it’s small and fine so you can create details a lot easier and have more control when you use glitters and mix colour!
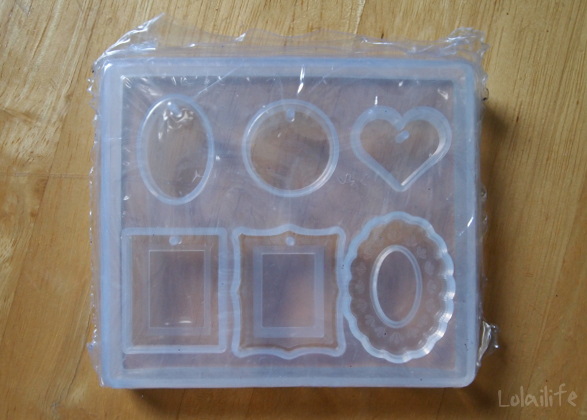
- Resin mould of your choice – Beginners should use moulds with simple shapes (e.g. circle, square). When you get more familiar with resin craft, you can choose moulds that are more difficult to use such as animal moulds and even 3D animal moulds!
- UV lamp

/
How to make galaxy resin pendant?
The main thing you have to do to make galaxy resin pendant is to layer the resin. There will be 4 layers, make sure every layer is thin!
P.S. Sorry, I can’t tell you the EXACT amount of resin/other materials you’ll need. It all depends on the size of your mould and type of resin colourant you’re using.
1st layer (Base layer)
In your container, mix resin with blue resin colourant liquid. You might need a few drops of blue resin colourant liquid in order to get the dark blue galaxy colour. Pour the mixture into your resin mould and cure it with your UV lamp for 3-4 minutes until your resin is hard. You might need a bit longer time to cure the resin if you use bigger mould and more resin.
.
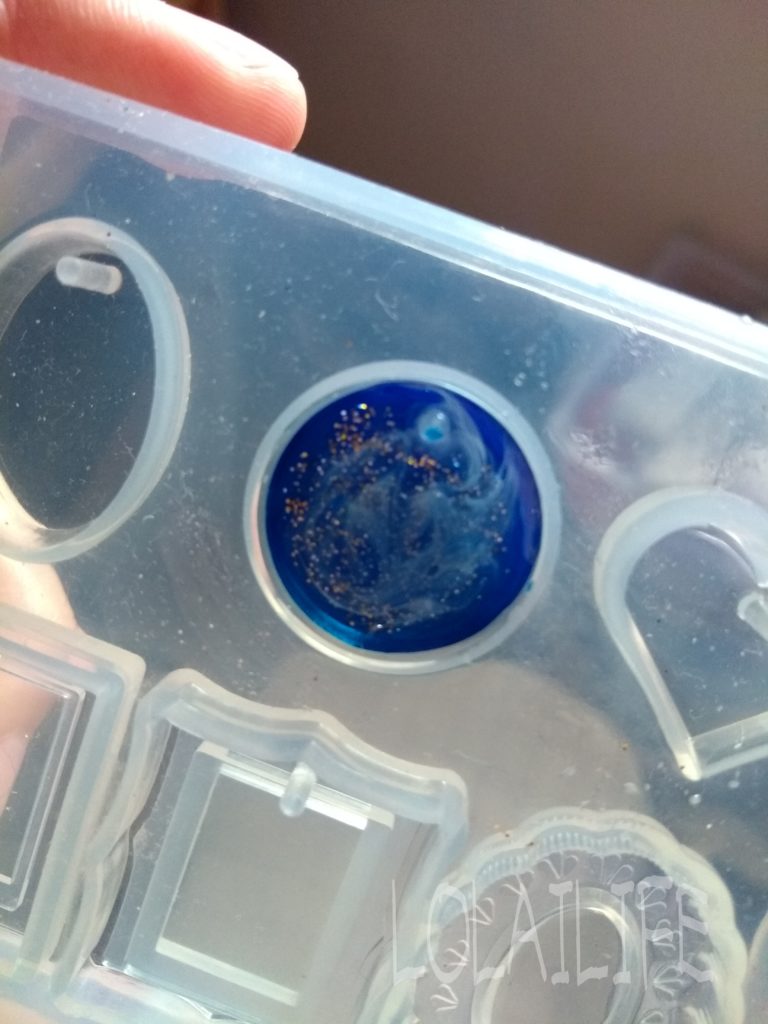
2nd layer
Add another layer of uncoloured resin . Shove your stir stick/toothpick into the glitter to pick up TINY BIT of it. Keep TAPPING your stir stick/toothpick so the glitter drops onto the resin. By doing this, you can make sure you don’t put too much glitter at one time and the distribution of glitter will be more even. Repeat until you get your desired amount of glitter. Cure your resin.
.

Third layer
Pour uncoloured resin. Prepare translucent white resin by mixing resin and white resin colourant in another container. Pour TINY AMOUNT of white resin into the middle of uncoloured resin. Or use your stir stick/toothpick to pick up white resin and add it bit by bit. Randomly stir the white resin ONLY a few times to create the milky way. Cure the resin.
→Do not over-stir or put too much white translucent white resin otherwise it won’t look like the milky way
→Do not use opaque white resin colourant because it will cover the starry background.

- Final layer: Just pour another layer of uncoloured resin. Cure it to finish off!
Send me a photo or tag me on Instagram: Kamui by Karen if you try it out. I’d love to see your work!
Feel free to follow my resin ideas Pinterest board too.
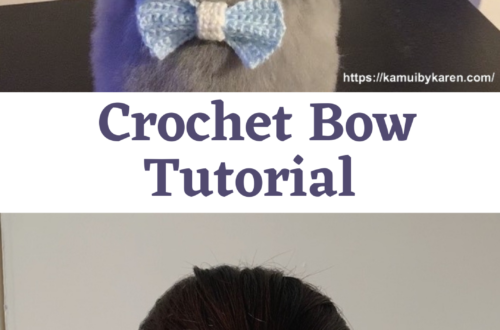
Other Craft Tutorial: